Joomla Installation Step by Step with Screenshots
What is Joomla ?
Joomla is a free and open source content management that uses a PHP and a backend database, such as MySQL. It offers a wide variety of features that make it an incredibly flexible content management system right out of the box. Joomla is now 2nd most popular CMS online. It now has over 10,000 addons to customize its functionality.
Prerequisites
You will need to install apache2, mysql-server-5.5, mysql-client-5.5 and php5 in order to have a web-server for Joomla!.
Step 1. First you need to Download Joomla latest version from here and extract in web root folder.
$ wget http://joomlacode.org/gf/download/frsrelease/17410/76021/Joomla_2.5.7-Stable-Full_Package.tar.gz
$ tar zxvf Joomla_2.5.7-Stable-Full_Package.tar.gz  -C /var/www/
$ chown -R apache:apache /var/www/
Step 2. Next we will configure files permission and ownerships. we alter a couple of permissions to give access to the Joomla installer.
First create a Joomla configuration file and make it temporarily world-writeable:
sudo touch /var/www/configuration.php
sudo chmod 777 /var/www/configuration.php
After the installation is complete, we will change the permissions back down to 755, which will make it only writeable by the owner.
Step 3. Create Database and give Permission
Now we need to create a new MySQL database for Joomla site.
Go ahead and log into the MySQL Shell:
mysql -u root -p
Login using your MySQL root password. We then need to create the Joomla database, a user in that database, and give that user a new password. Keep in mind that all MySQL commands must end with semi-colon. We can also configure this new database with root user but this is not a good option for security and when you have multiple sites on a server.
First, let’s make the database
CREATE DATABASE joomla;
Query OK, 1 row affected (0.00 sec)
Then we need to create the new user. You can replace the database, name, and password, with whatever you prefer:
CREATE USER linuxtweak@localhost;
Query OK, 0 rows affected (0.00 sec)
Set the password for your new user:
SET PASSWORD FOR linuxtweak@localhost= PASSWORD("password");
Query OK, 0 rows affected (0.00 sec)
Finish up by granting all privileges to the new user. Without this command, the Joomla installer will be able to harness the new mysql user to create the required tables:
GRANT ALL PRIVILEGES ON joomla.* TO linuxtweak@localhost IDENTIFIED BY 'password';
Query OK, 0 rows affected (0.00 sec)
Then refresh MySQL:
FLUSH PRIVILEGES;
Query OK, 0 rows affected (0.00 sec)
Exit out of the MySQL shell:
exit
Step 4. Configure Apache
Point your domain to this server ip and configure apache by editing below file.
# vi /etc/httpd/conf/httpd.conf
ServerAdmin [email protected]

ServerName linuxtweaks.in:80
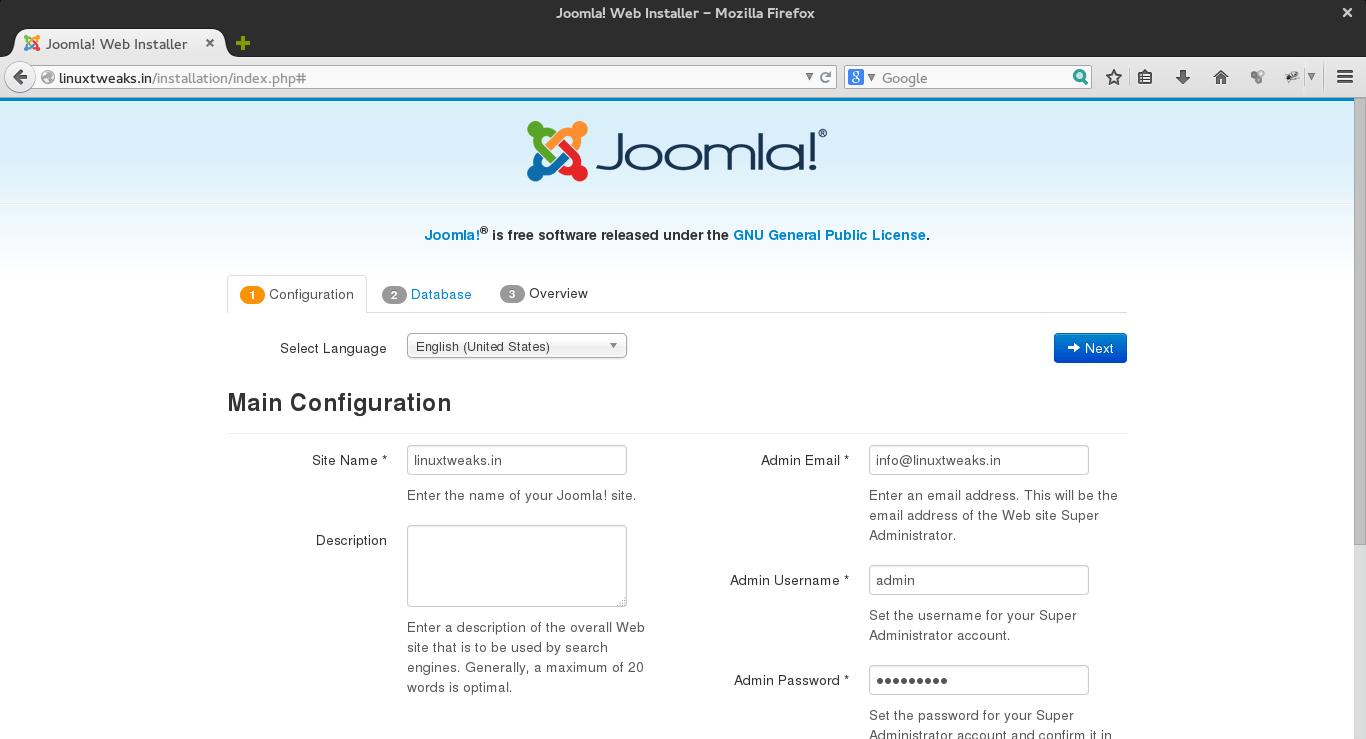
Step 5. Next step is to Enter from browser hit your website like https://www.linuxtweaks.in/ then one window display as seen below.
Now, Continue with the following procedure.
- main configuration
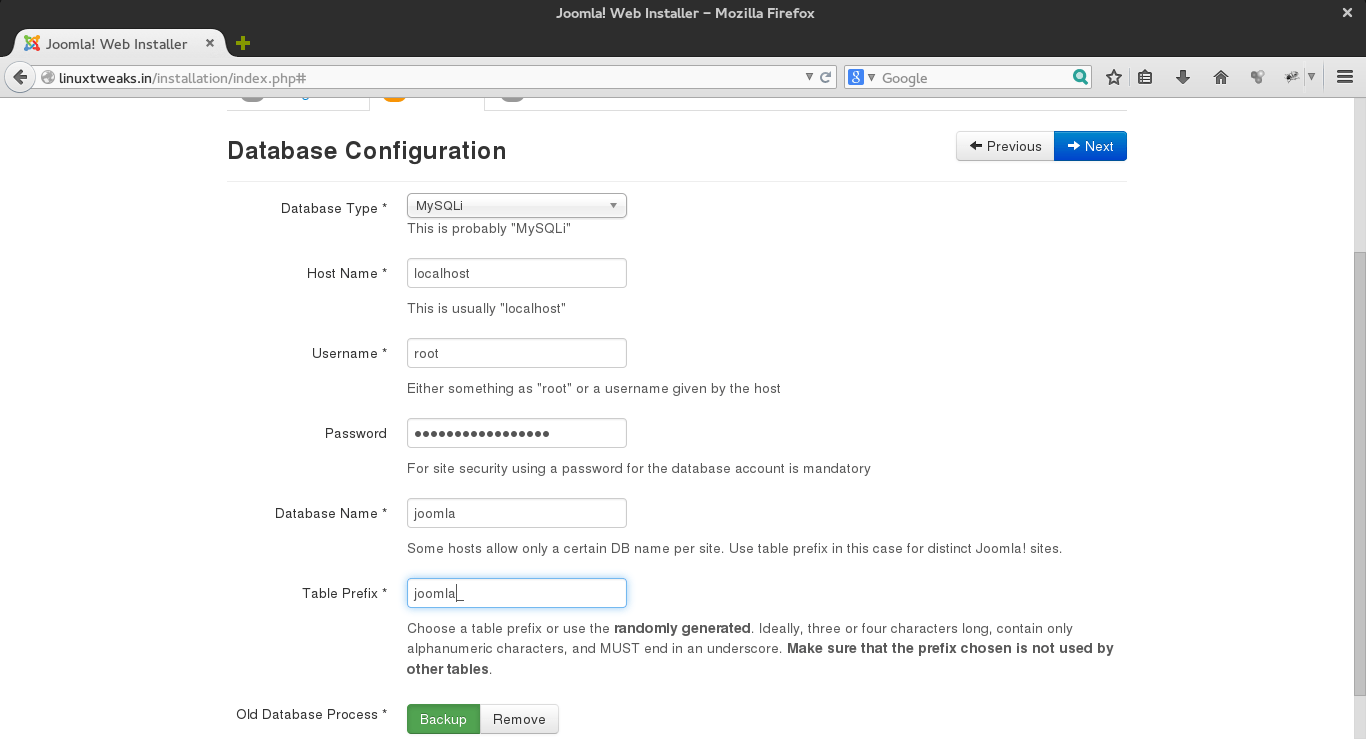
- database configuration
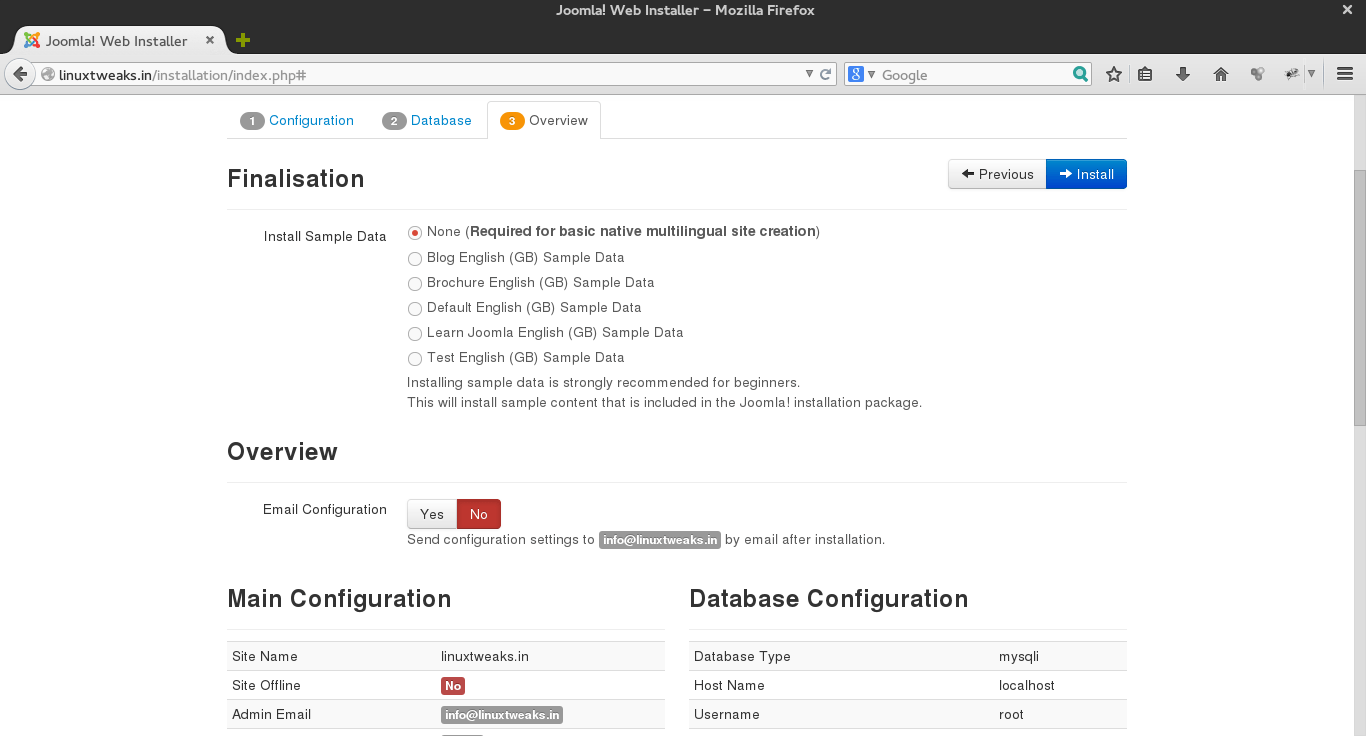
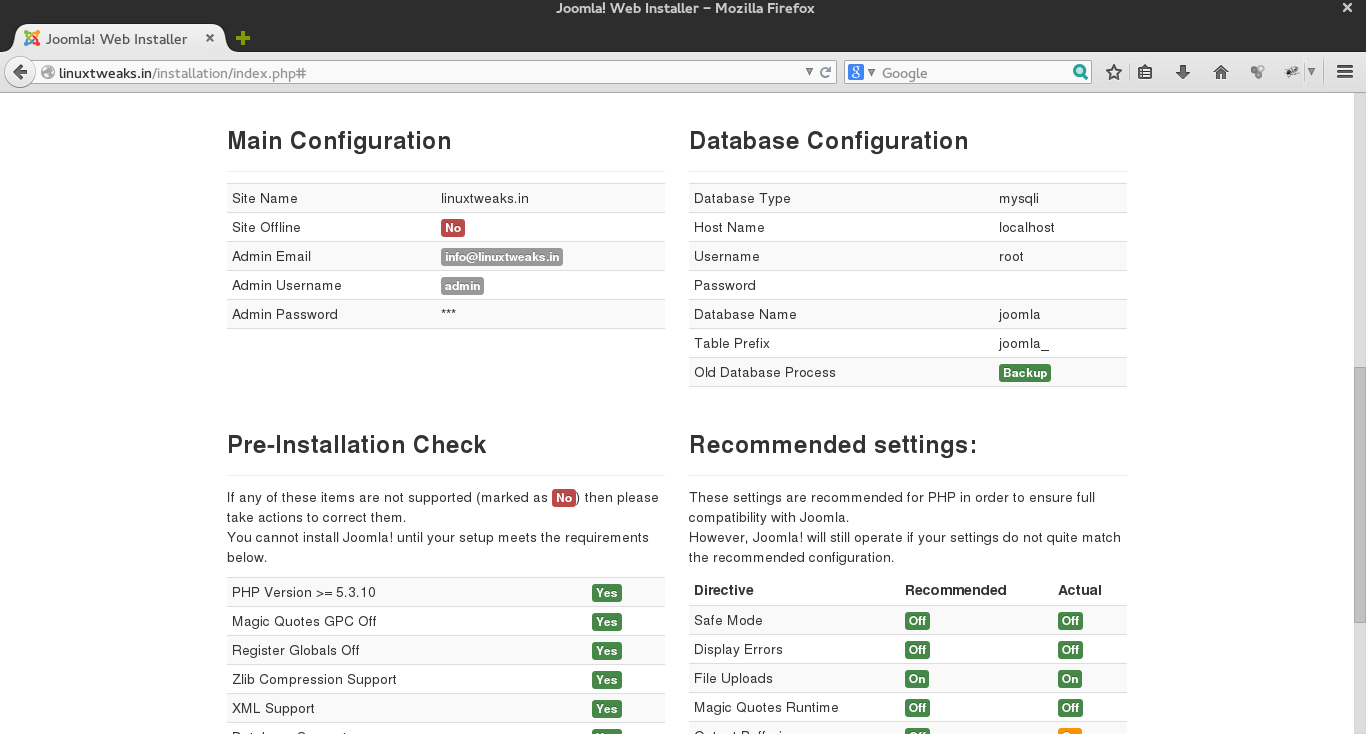
- overview
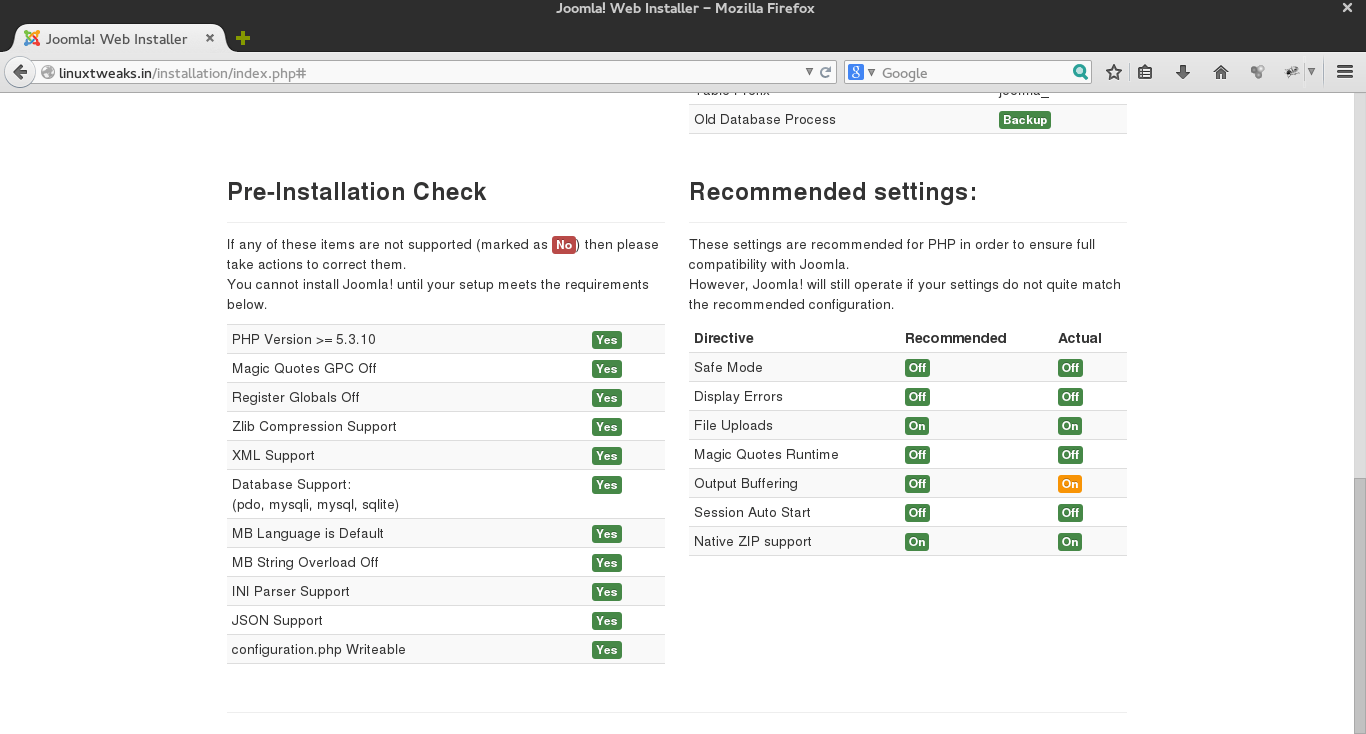
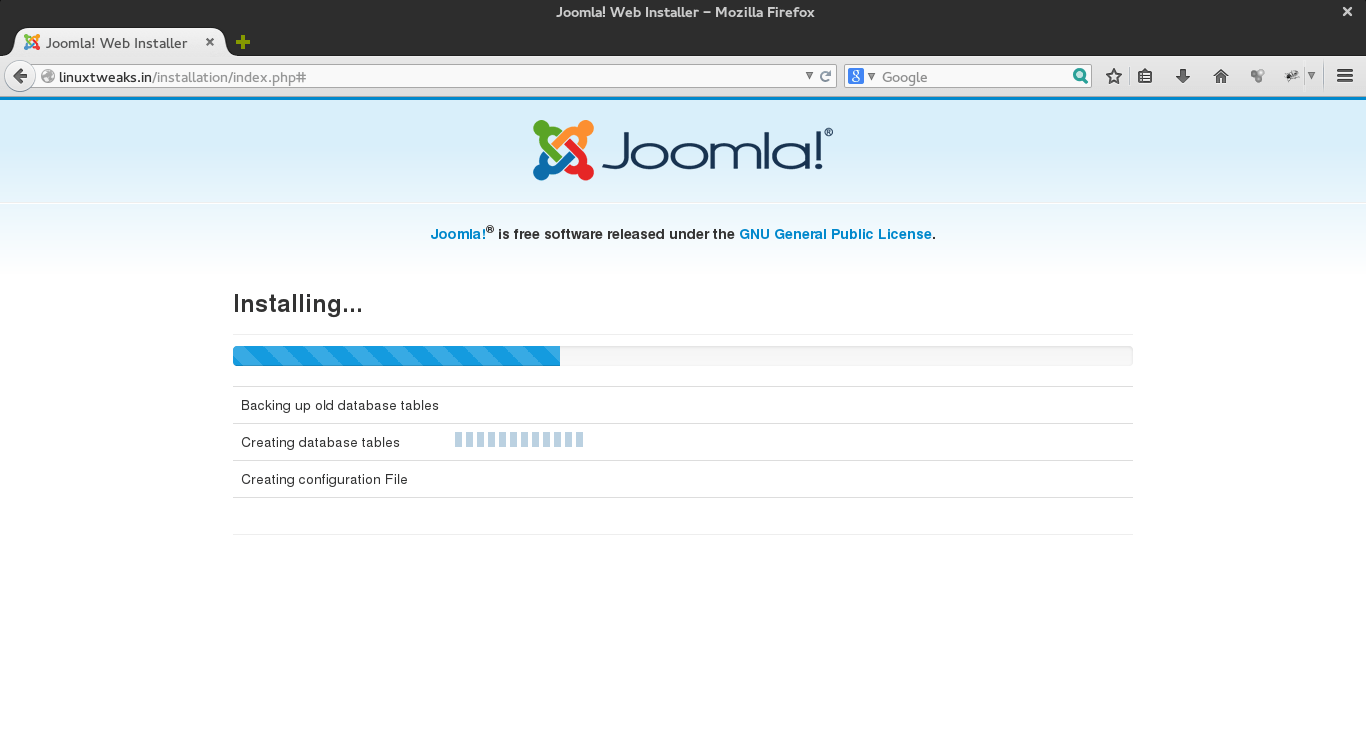
- installing components
- congratulation joomla is now installed
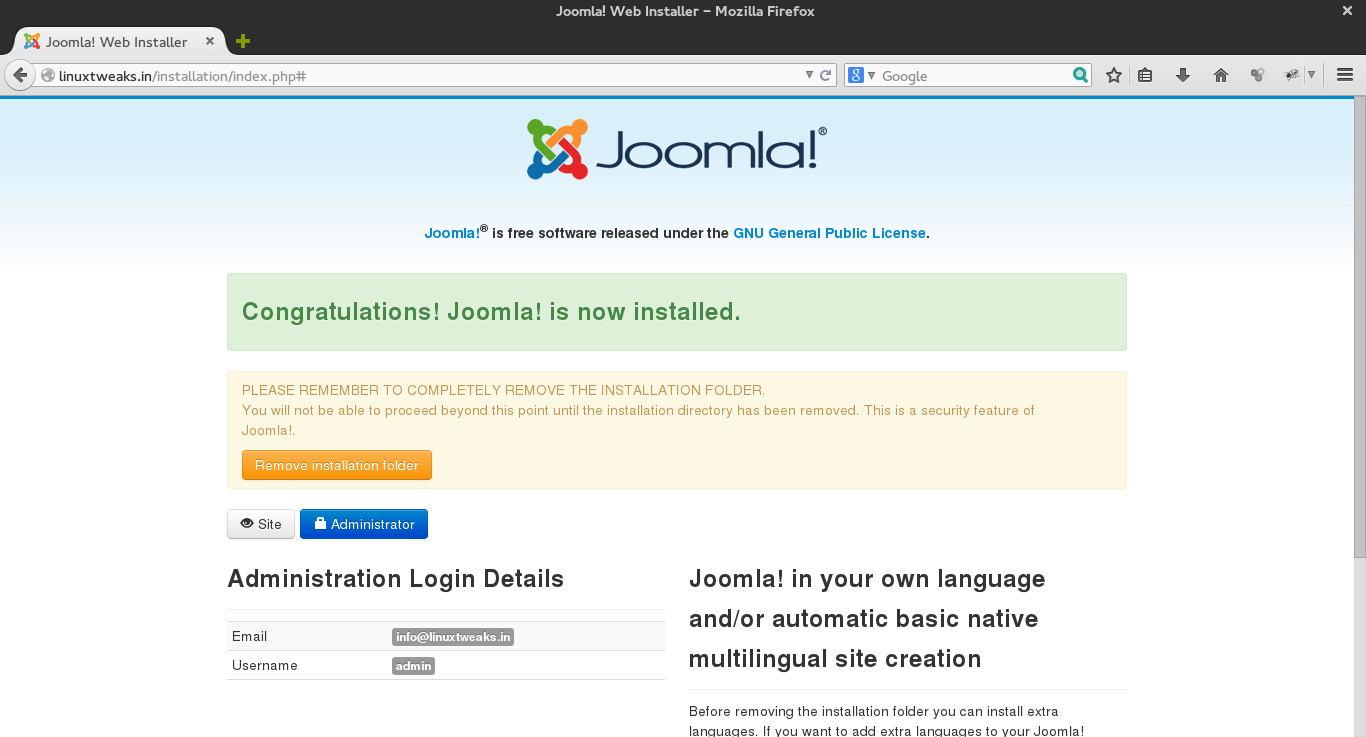
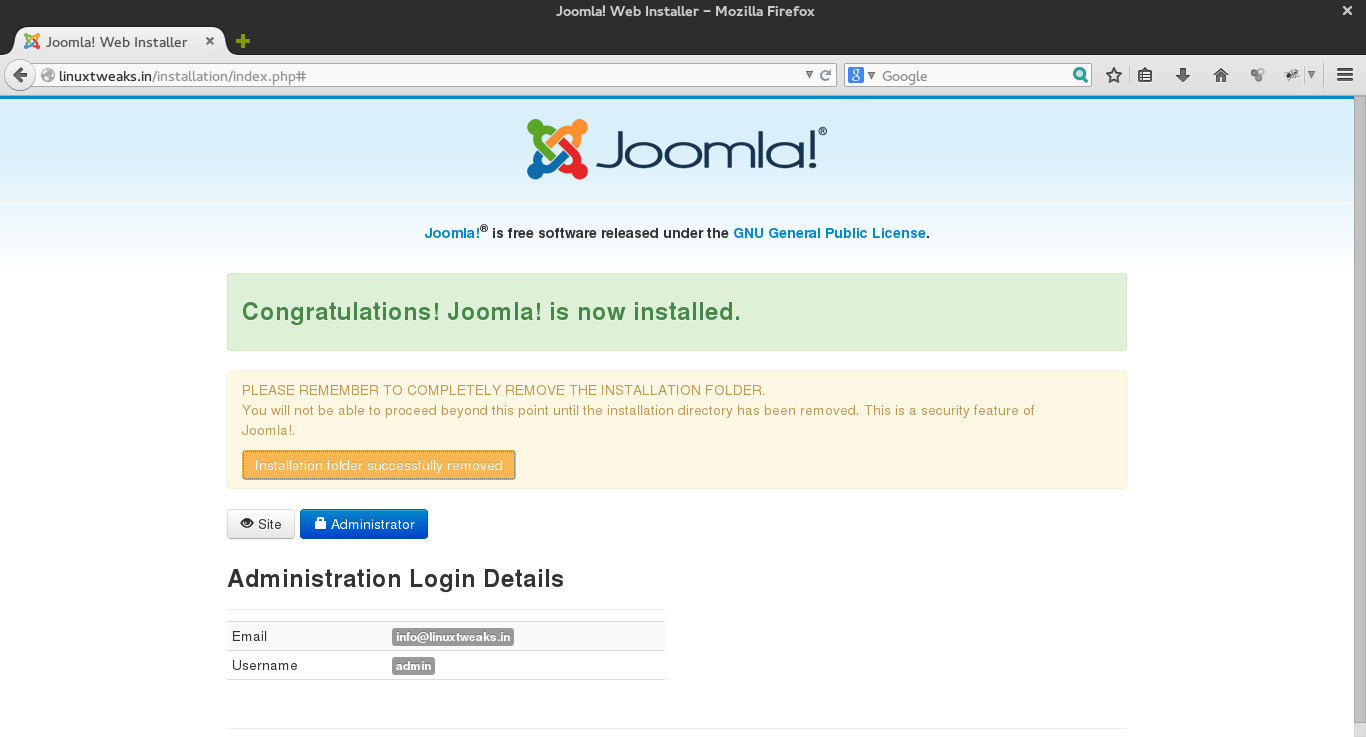
- Remove installation folder
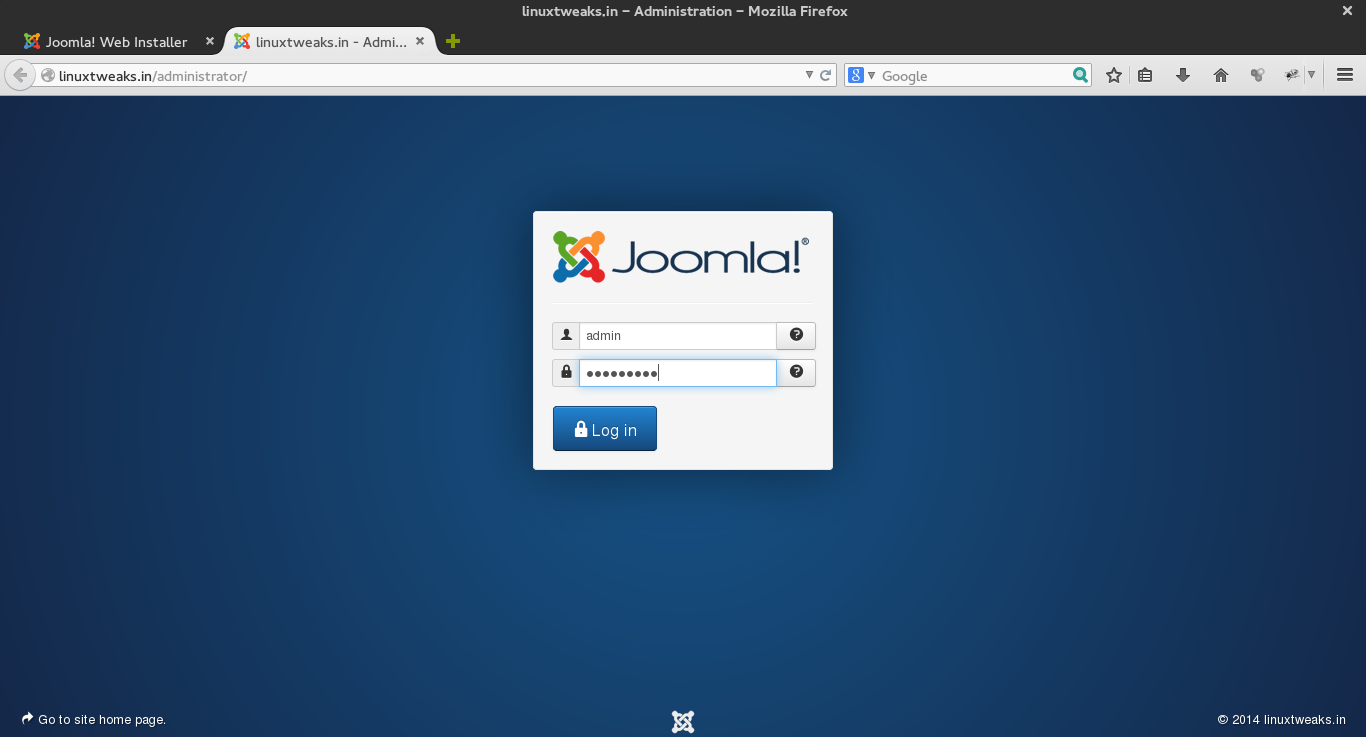
- Joomla Administrator
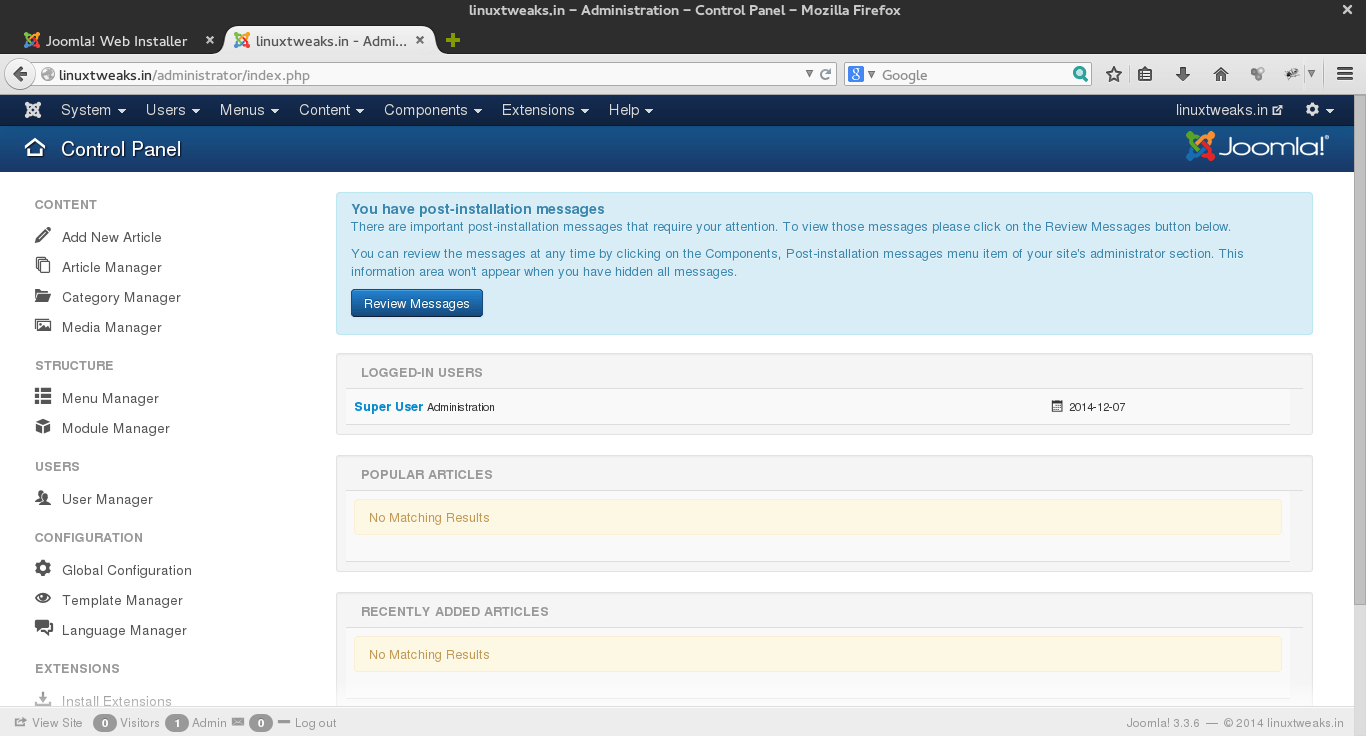
- joomla control panel
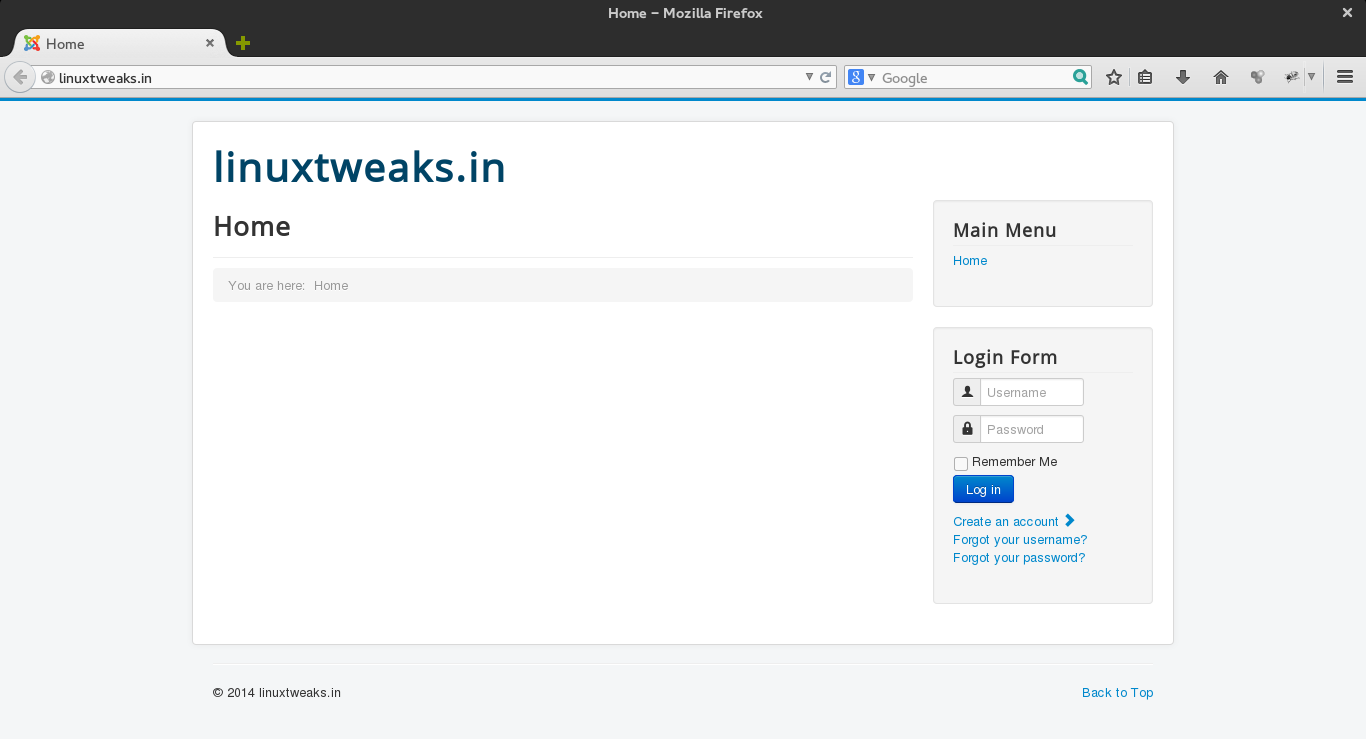
- front end
Once you have finished going through the installer, delete the installation folder per Joomla’s instructions and change the permissions on the config file:
rm -rf /var/www/installation/
chmod 755 /var/www/configuration.php
View more posts in this category !!!
Magento Installation Guide Step by Step
WordPress Installation Guide Step by Step
Drupal Installation Guide Step by Step