How to Create a Self-Signed SSL Certificate With OpenSSL
Steps to create Self-Signed SSL Certificate With OpenSSL
SSl certificate use to run our site on https so when we don’t want to pay for certificate we can use self-signed certificate which can be generate by openssl tool. So below are steps to Self-Signed SSL Certificate With OpenSSL command in linux which can be generate from any system and configure for the site.
Prerequisites
The openssl library is required to generate your own certificate. Run the following command in your local environment to see if you already have openssl installed installed.
root@linuxtweaks:~# which openssl
/usr/bin/openssl
Generate private key and certificate signing request
A private key and certificate signing request are required to create an SSL certificate. These can be generated with a few simple commands. When the openssl req command asks for a “challenge password”, just press return, leaving the password empty.
openssl genrsa -des3 -passout pass:x -out linuxtweaks.pass.key 2048
Output is as follow
root@linuxtweaks:~# openssl genrsa -des3 -passout pass:x -out linuxtweaks.pass.key 2048
Generating RSA private key, 2048 bit long modulus
..............................................+++
...........+++
e is 65537 (0x10001)
openssl rsa -passin pass:x -in linuxtweaks.pass.key -out linuxtweaks.key
Output is as follow
root@linuxtweaks:~# openssl rsa -passin pass:x -in linuxtweaks.pass.key -out linuxtweaks.key
writing RSA key
openssl req -new -key linuxtweaks.key -out linuxtweaks.csr
Output is as follow
root@linuxtweaks:~# openssl req -new -key linuxtweaks.key -out linuxtweaks.csr
You are about to be asked to enter information that will be incorporated
into your certificate request.
What you are about to enter is what is called a Distinguished Name or a DN.
There are quite a few fields but you can leave some blank
For some fields there will be a default value,
If you enter '.', the field will be left blank.
-----
Country Name (2 letter code) [AU]:IN
State or Province Name (full name) [Some-State]:RAJASTHAN
Locality Name (eg, city) []:JAIPUR
Organization Name (eg, company) [Internet Widgits Pty Ltd]:linuxtweaks
Organizational Unit Name (eg, section) []:linuxtweaks
Common Name (e.g. server FQDN or YOUR name) []:linuxtweaks.in
Email Address []:[email protected]

Please enter the following 'extra' attributes
to be sent with your certificate request
A challenge password []:
An optional company name []:linuxtweaks
Generate SSL certificate
The self-signed SSL certificate is generated from the linuxtweaks.key private key and linuxtweaks.csr files.
openssl x509 -req -days 365 -in linuxtweaks.csr -signkey linuxtweaks.key -out linuxtweaks.crt
Output is as follow
root@linuxtweaks:~# openssl x509 -req -days 365 -in linuxtweaks.csr -signkey linuxtweaks.key -out linuxtweaks.crt
Signature ok
subject=/C=IN/ST=RAJASTHAN/L=JAIPUR/O=linuxtweaks/OU=linuxtweaks/CN=linuxtweaks.in/[email protected]
Getting Private key
The linuxtweaks.crt file is your site certificate suitable for use with Heroku’s SSL add-on along with the linuxtweaks.key private key.
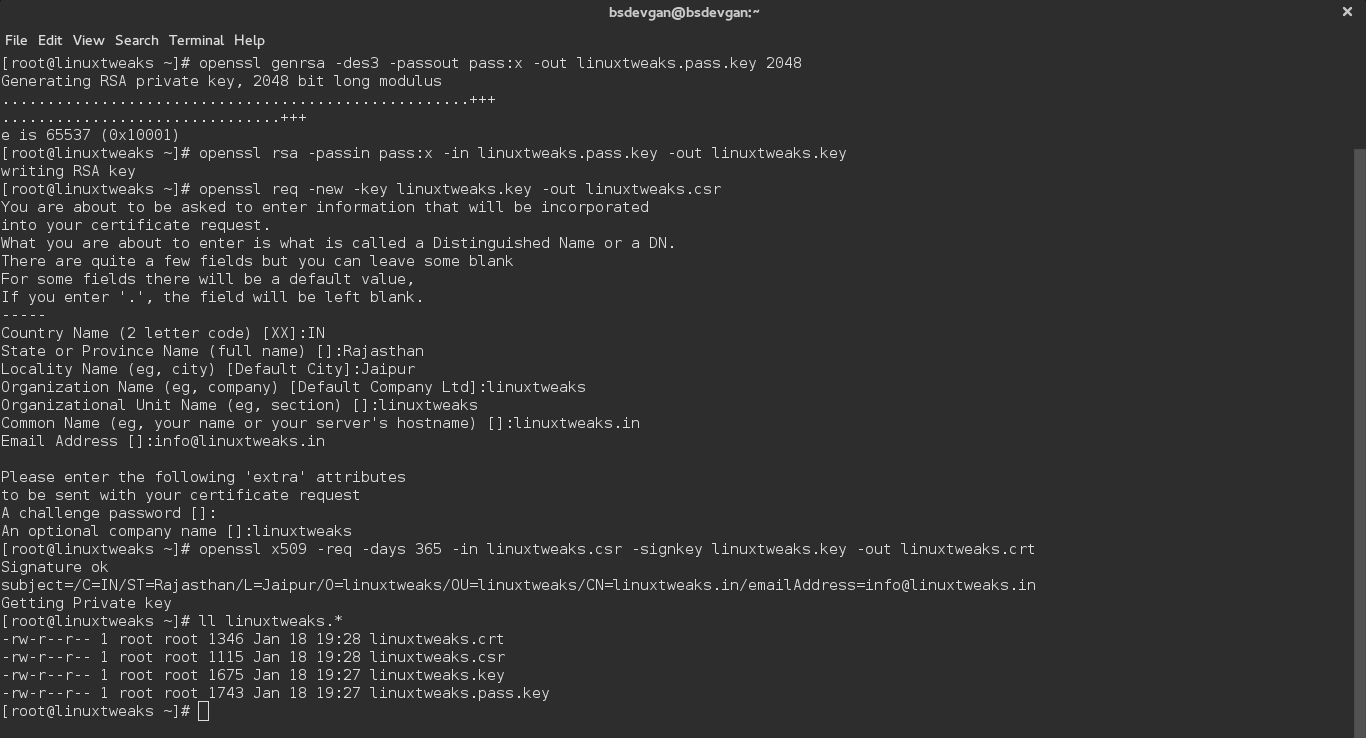
root@linuxtweaks:~# ll linuxtweaks.*
-rw-r--r-- 1 root root 1346 Jan 16 11:30 linuxtweaks.crt
-rw-r--r-- 1 root root 1115 Jan 16 11:30 linuxtweaks.csr
-rw-r--r-- 1 root root 1679 Jan 16 11:27 linuxtweaks.key
-rw-r--r-- 1 root root 1751 Jan 16 11:27 linuxtweaks.pass.key
See Screen-shot for all above commands.
Configure the Certificate for nginx
vi /etc/nginx/sites-enabled/linuxtweaks.in.conf
The general syntax is as follows for nginx SSL configuration.
server {
    listen               443;
    ssl                  on;
    ssl_certificate      /path/to/linuxtweaks.crt;
    ssl_certificate_key  /path/to/linuxtweaks.key;
    server_name theos.in;
    location / {
    ...........................................
    }
}
Configure the Certificate for Apache
vi /etc/apache2/sites-enabled/linuxtweaks.in.conf
The general syntax is as follows for Apache SSL configuration.
Listen 443
<VirtualHost *:443>
	SSLEngine on
	SSLCertificateFile /path/to/linuxtweaks.crt
	SSLCertificateKeyFile /path/to/linuxtweaks.key
	SetEnvIf User-Agent ".*MSIE.*" nokeepalive ssl-unclean-shutdown
	CustomLog logs/ssl_request_log \
	   "%t %h %{SSL_PROTOCOL}x %{SSL_CIPHER}x \"%r\" %b"
        ...............................................................
</VirtualHost>
Test your ssl certificate
Now that you have everything prepared, you can test your configuration by visiting your server’s domain name or public IP address after specifying the https:// protocol, like this https://linuxtweaks.in/
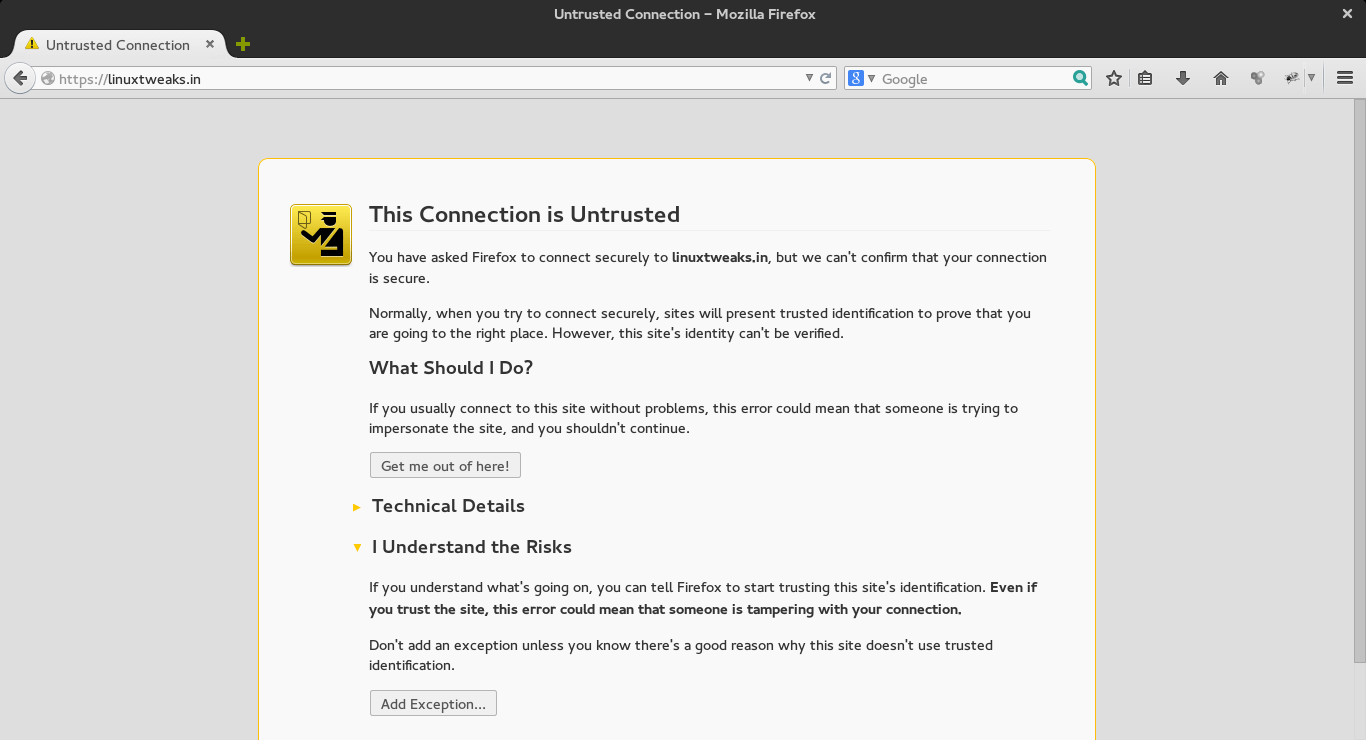
You will get a warning that your browser cannot verify the identity of your server because it has not been signed by one of the certificate authorities that it trusts or this connection is utrusted.
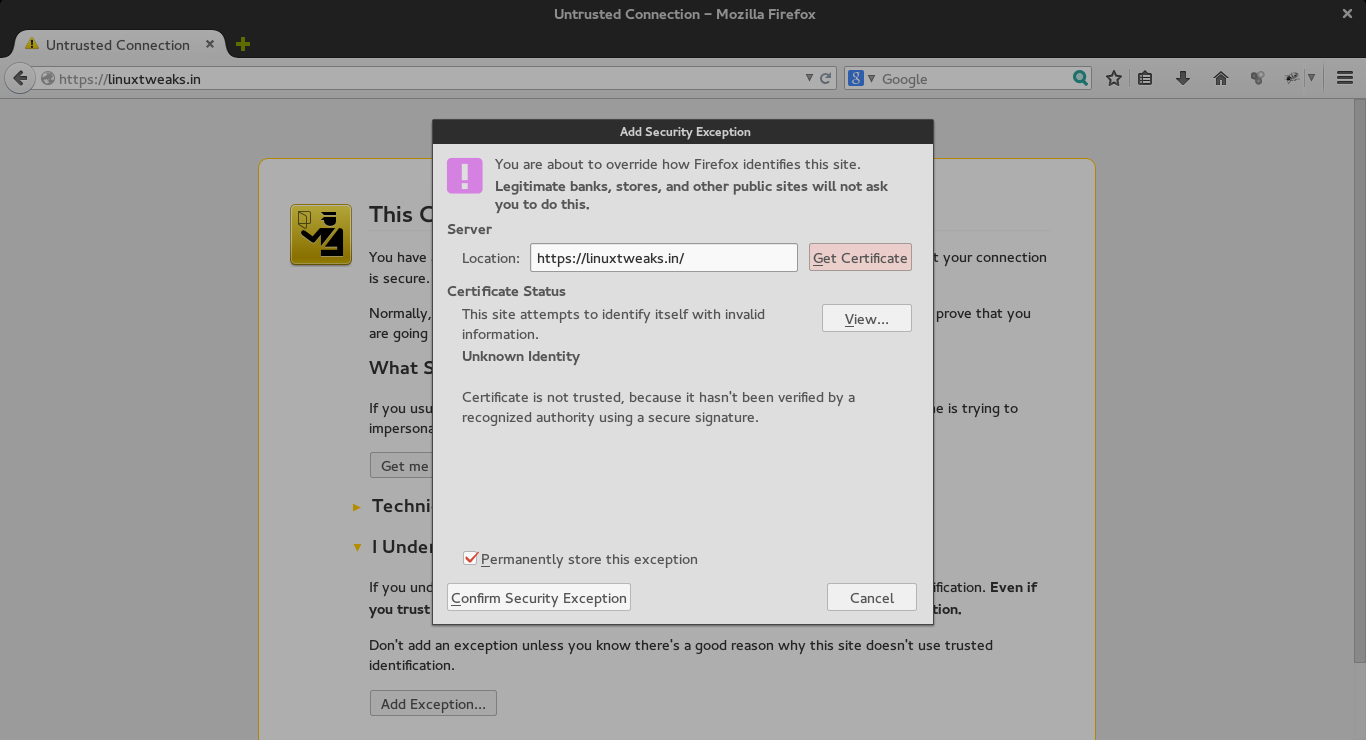
Now, you only need to Add Security Exception and confrim it as follow.
You should now have SSL enabled on your website. This will help to secure communication between visitors and your site, but it will warn each user that the browser cannot verify the validity of the certificate.
If you are planning on launching a public site and need SSL, you will be better off purchasing an SSL certificate from a trusted certificate authority.