Install and configure openfire chat server in Ubuntu
Openfire ?
Openfire is an chat messanger open source messenger server, built on the XMPP protocol and available for multiple platforms. Openfire is an real-time collaboration server which is licensed under the Open Source Apache. It uses the XMPP protocol and can be managed via a web interface. It is easy to setup and configure, it has a high level of security and performance. Openfire needs Java to run the application on server as this developed in java.
Before installing Openfire, make sure your system is up to date. Enter the following commands, one by one, and install any available updates:
sudo apt-get update
sudo apt-get upgrade
Openfire requires a Java runtime engine (JRE). This tutorial uses the OpenJDK provided by the Ubuntu repository.Enter the following command to install the OpenJDK, OpenJDK will be installed with their required dependencies.
sudo apt-get install openjdk-7-jre
Steps to install Openfire
Visit the download page for the Openfire RTC server and click the link for the .tar.gz file.
http://www.igniterealtime.org/projects/openfire/
Here you can get the link for downloading openfire. copy and paste the following command to setup openfire in /opt directory.
wget -c http://www.igniterealtime.org/downloads/download-landing.jsp?file=openfire/openfire_3_10_2.tar.gz
mv download-landing.jsp\?file\=openfire%2Fopenfire_3_10_2.tar.gz openfire_3_10_2.tar.gz
tar -xvzf openfire_3_10_2.tar.gz
mv openfire /opt/
Edit the configuration file which is in /opt/openfire/conf/openfire.xml location and insert your public IP address in the <interface> section, and removing the <!– –> comment markers that surround the <network> section. This will enable access openfire from browser by your public address.
Now <interface> section look like this
<interface>192.168.100.101</interface>
Add a symbolic link for the daemon script to /etc/init.d so that you can start the daemon with a call to service:
ln -s /opt/openfire/bin/openfire /etc/init.d/
Start Openfire with the following command
/etc/init.d/openfire start
Next check that if it’s running fine and on proper port.
netstat -naltp|grep openfire
tcp        0      0 :::9090                      :::*                        LISTEN  openfire
This completes the initial installation steps for Openfire. Next, we’ll continue with configuration through a web browser.
Openfire Configuration
Before start configuration of openfire through browser you need to first create mysql database and user if need to setup everything with MySql.
CREATE DATABASE openfire;
CREATE USER 'openfire'@'localhost' IDENTIFIED BY 'oppassword';
GRANT ALL PRIVILEGES ON openfire.* TO 'openfire'@'localhost';
FLUSH PRIVILIGES;
The above step will create openfiredb database and openfire user and also give access to openfire user to openfiredb database.
Open a tab on your web browser and visit the http://192.168.100.101:9090/ or http://yourserverip:9090/. Since we are doing everything on my localhost I have to visit the following address.
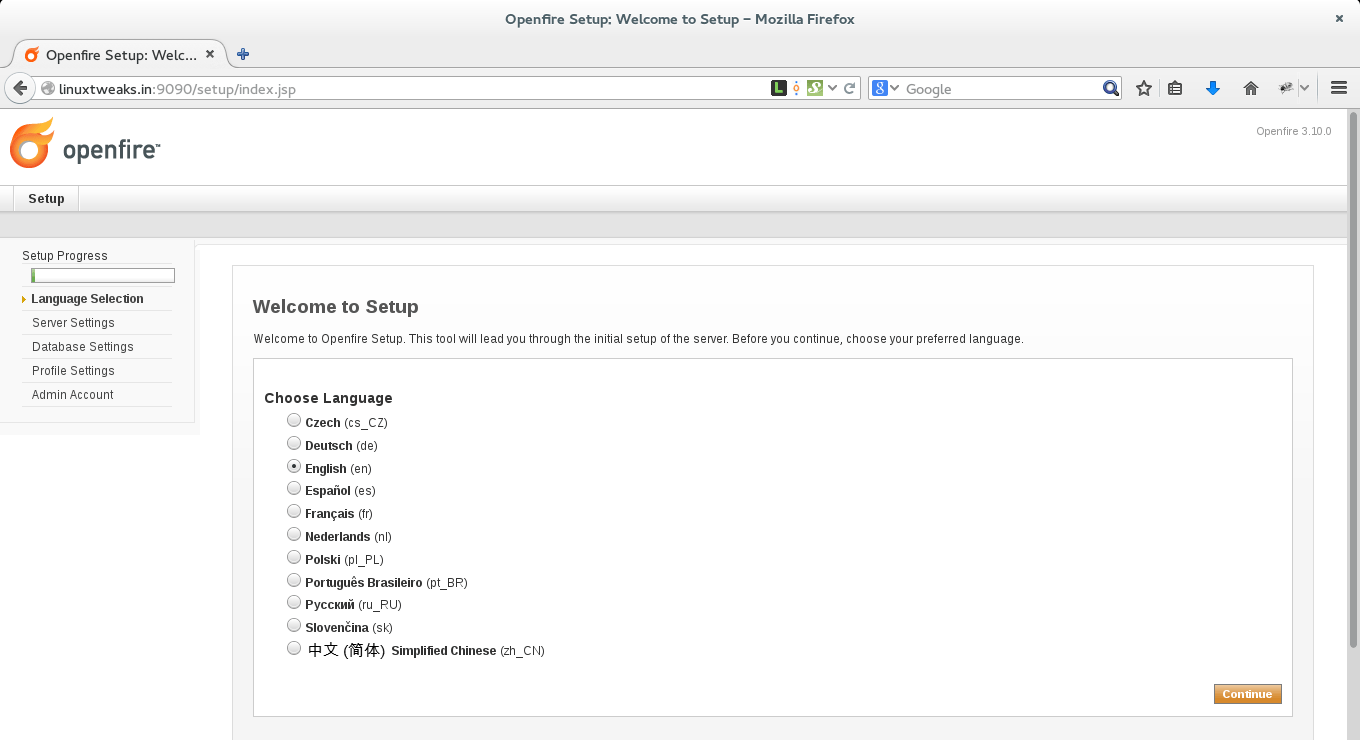
- Choose your language and click on Continue.
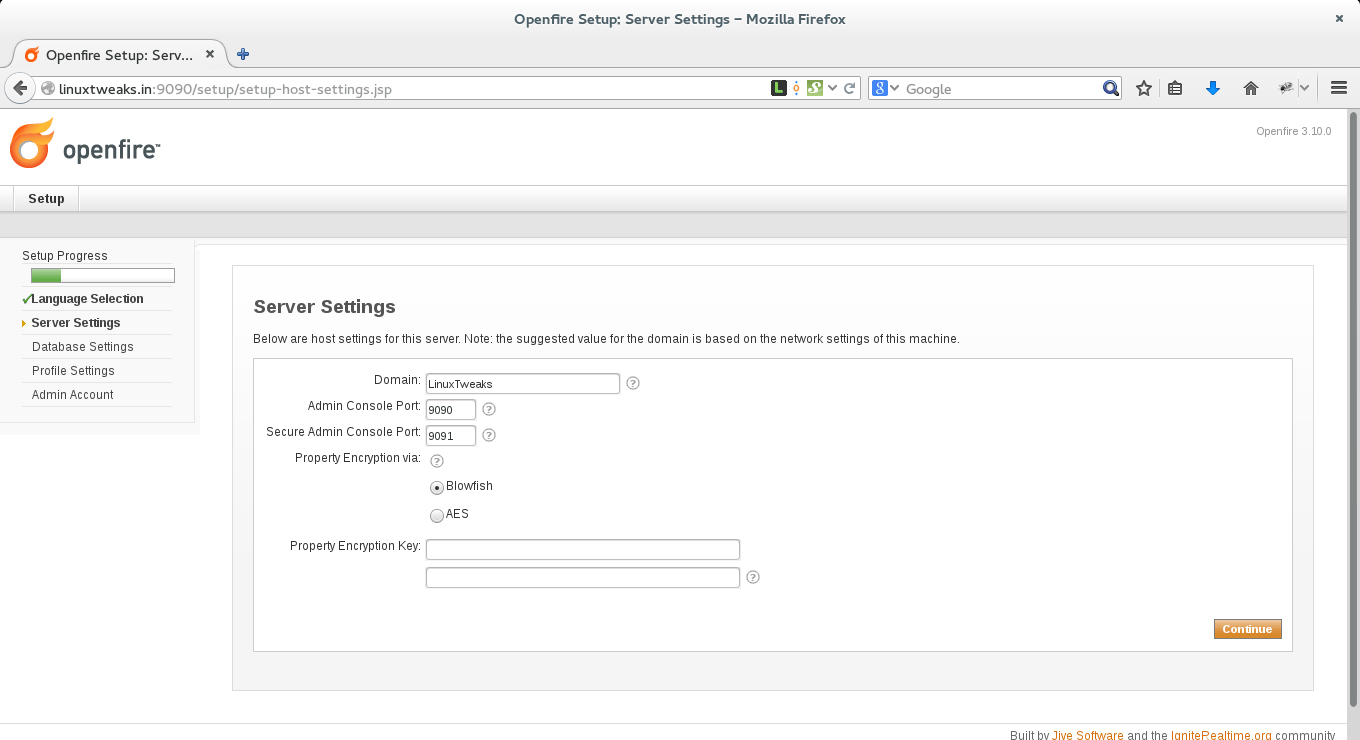
- Next we have to deal with Server Settings which will define domain name and port for access through browser.
- Leave it as default and click on Continue again. Then we have to configure the Database Settings.
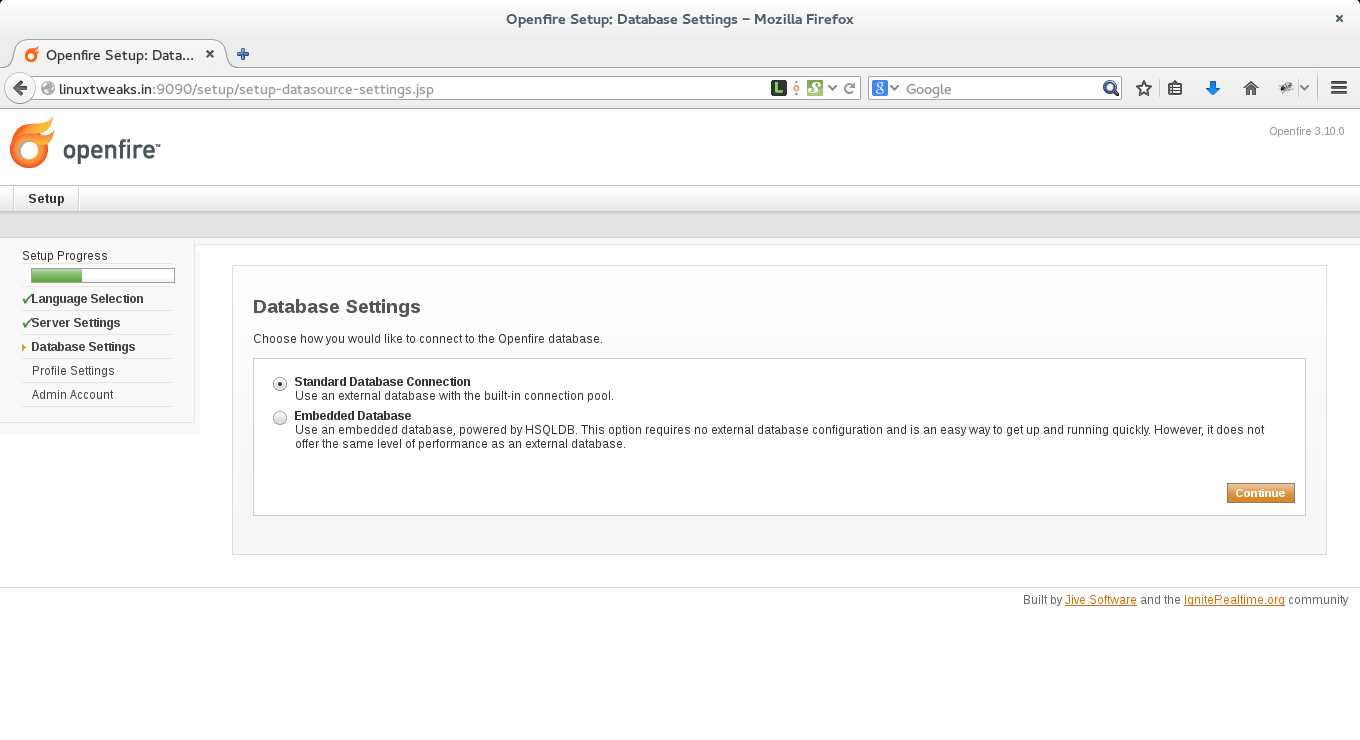
- For the purpose of this tutorial I will not use an external database, but an embedded one because it is an easy way to get up and run quickly as there are no configurations to be made at all.
- Here you need to enter mysql database detail which you have created in earlier steps.
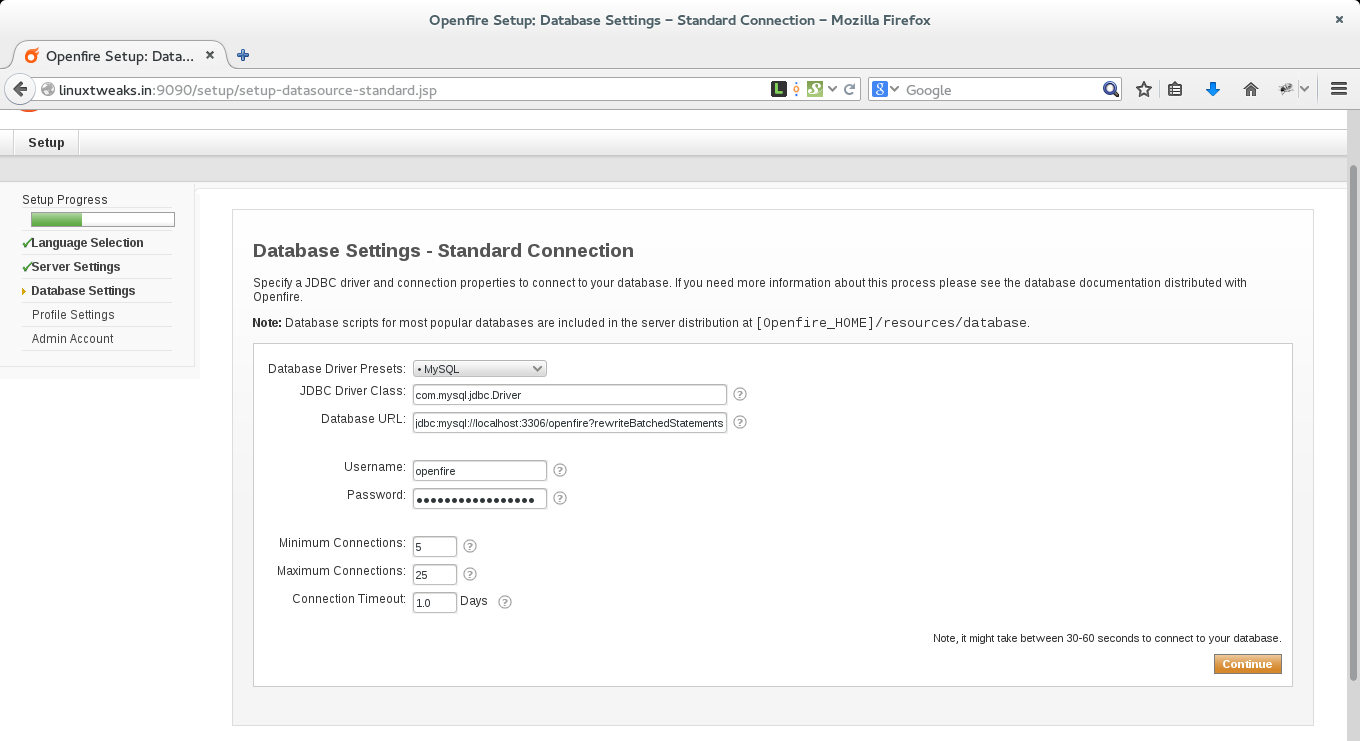
- Click on Continue. Then you will be presented to the following Profile Settings.
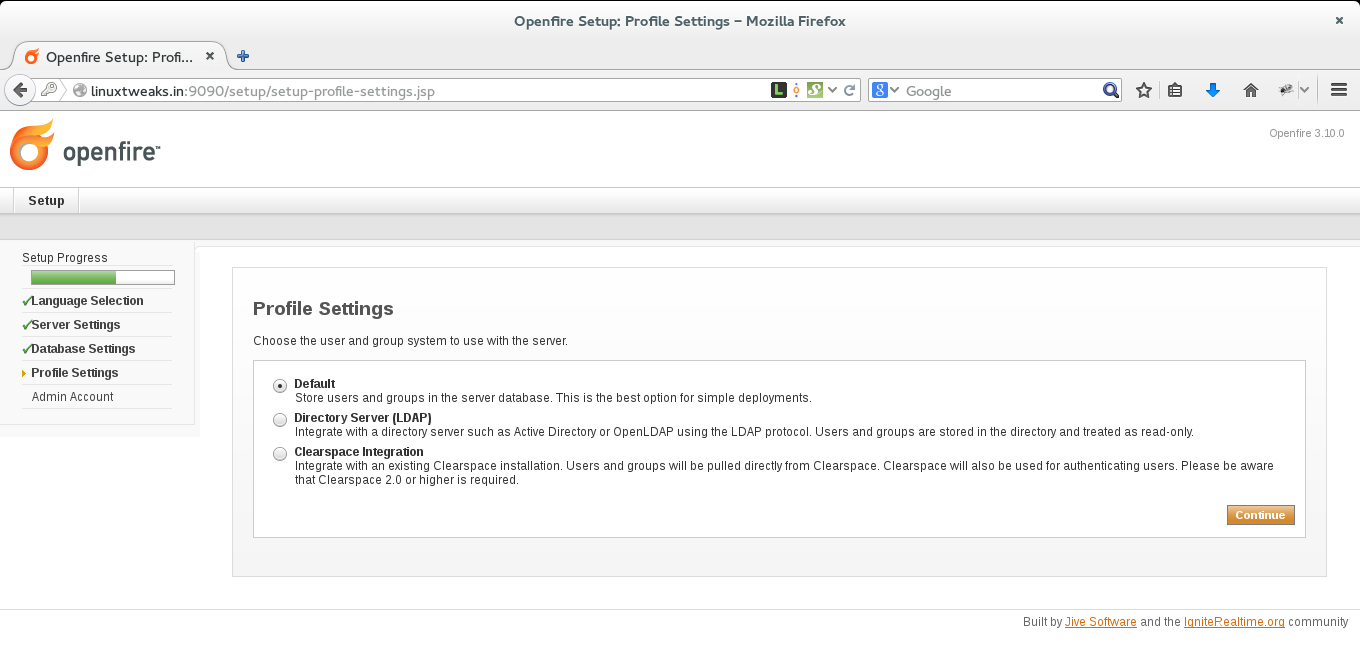 Leave this one as default and click on Continue.
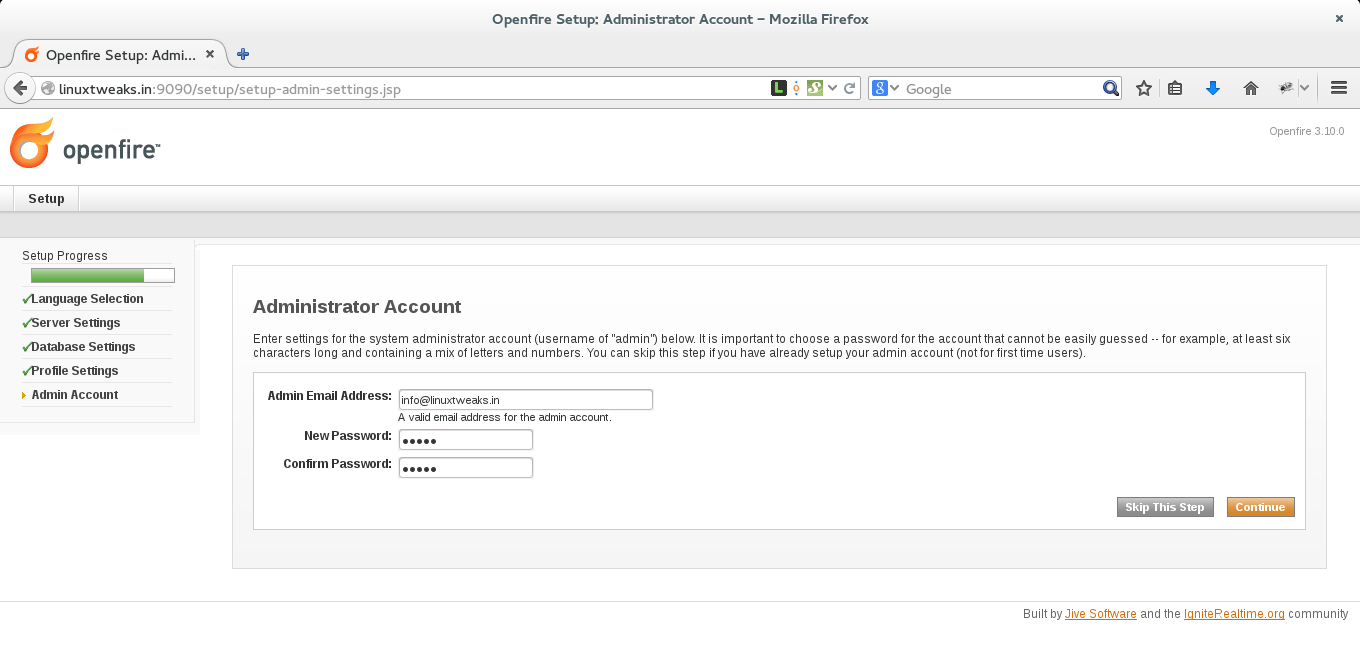
- Create an administrator account which is an email addresss and type a password for your admin account.
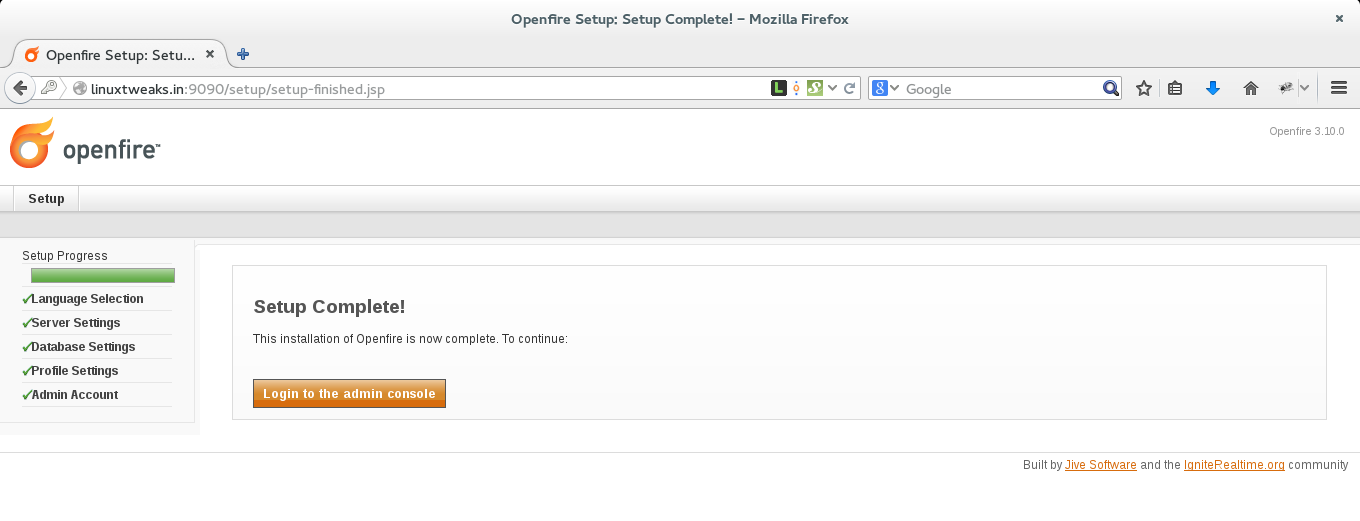
Click on Continue. If everything worked you will get a message that the installation of OpenFire is completed like shown in the following screenshot.
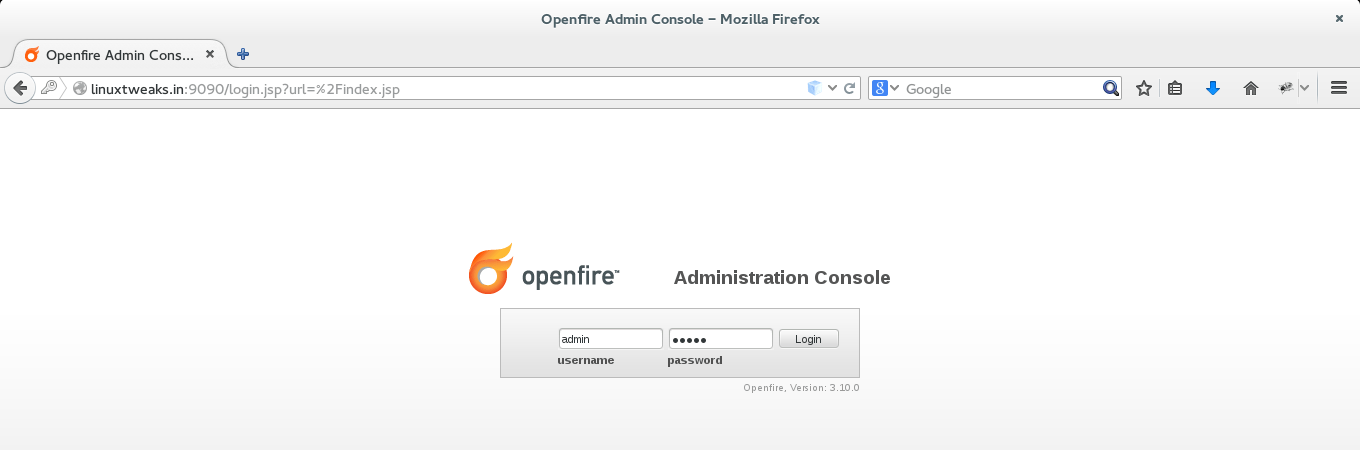
Click on “Login to the admin console” and login with Administrator account like shown in screenshot below.
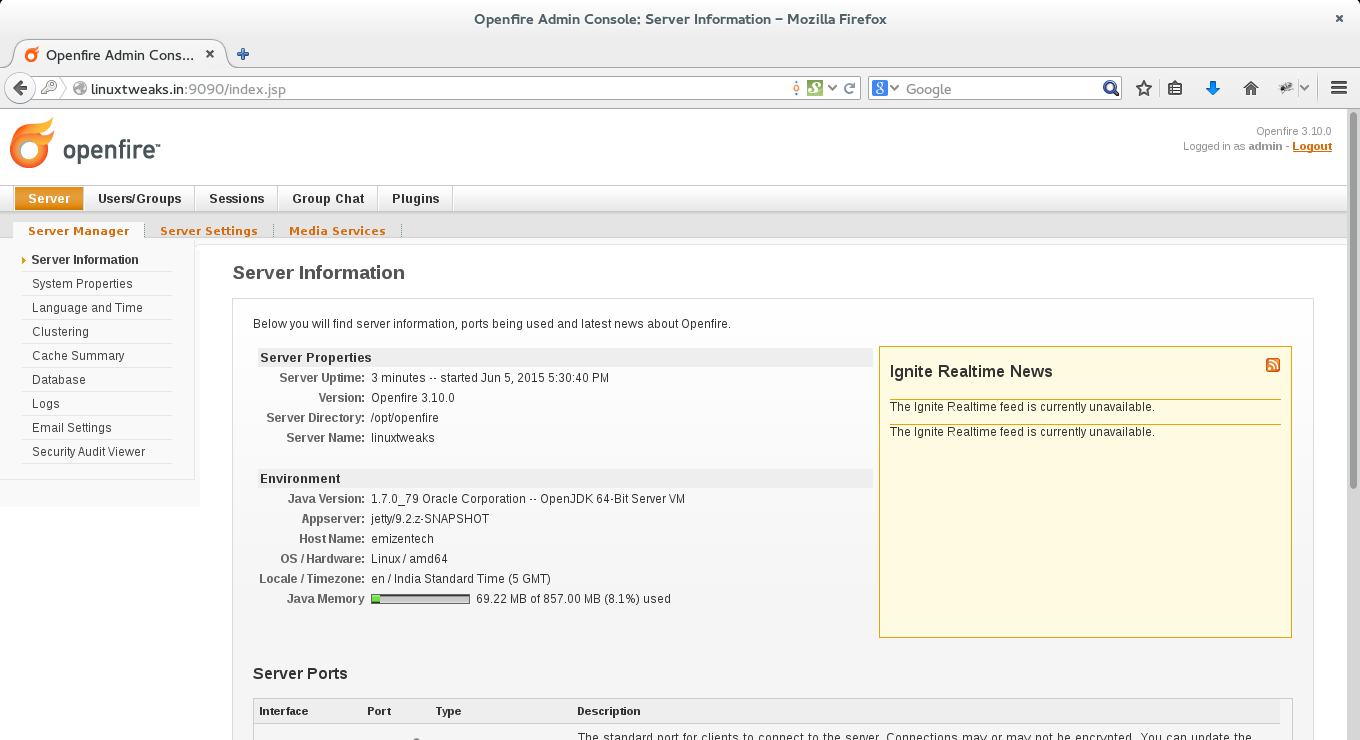
After login to Openfire default Dashboard like shown in the following screenshot.
View more posts in this category !!!
Configure pidgin chat client with Openfire chat server